
Vinted guide
Vinted photos: how to take photos that sell
A good Vinted photo set shows the whole item first, in daylight, with no filter, then the labels, details and flaws close up. Vinted allows up to 20 photos per listing: use them to answer questions before buyers ask.
In short
- Up to 20 photos per listing. The first shows the whole item, no collage.
- Your own photos only: no images from the internet, no watermarks.
- Daylight, no flash, no filters, so colours are true.
- Close-ups of the label, logo, care label and stitching. And the flaws.
- You don’t need to show your face: a hanger, a mannequin or a flat lay works fine.
Vinted’s official photo rules
Vinted publishes its own photo guidance. In short:
- First photo = full view. The entire item, no collage.
- Show authenticity. For a well-known brand, add close-ups of labels and logos, plus proof of purchase if you have it.
- Use your own photos. No stock or watermarked images: they don’t show your item’s real condition.
- True colours. Natural daylight rather than lamplight, no flash or filters.
- Different angles. Front, back, sides.
- Useful close-ups. Logo, care label, stitching; any text should be readable.
- The flaws. If they aren’t shown, the buyer may want to cancel or return the item.
- Your privacy. Avoid showing your face. A hanger, a mannequin or a flat lay are good alternatives.
Gear: your phone is enough
- Stand near a window during the day, without direct sun on the item.
- Pick a plain, clear background: a light sheet, a wall, a plain floor.
- Prep the item: a lint roller, smooth out the creases, clean laces. Two minutes that show in the photo.
- Hold the phone straight, at the item’s level, and wipe the lens.
The ideal sequence, photo by photo
| # | Clothing | Shoes |
|---|---|---|
| 1 | Full front view (flat or on a hanger) | The pair from the side, outer side |
| 2 | Back view | The pair from the front and back |
| 3 | Brand label | Sole |
| 4 | Size and care label | Inside label (size, reference) |
| 5 | Details: logo, buttons, stitching | Details: logo, stitching, heel |
| 6 | Flaws, close up | Wear and flaws, close up |
| 7 | Worn (optional, no face) | Box and extras if you have them |
The studio background: before / after
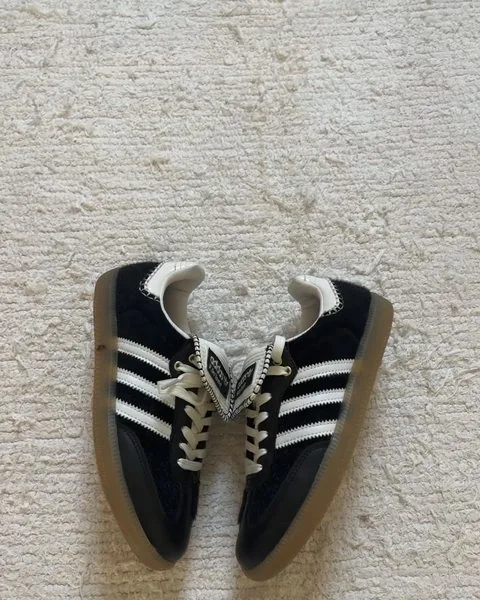
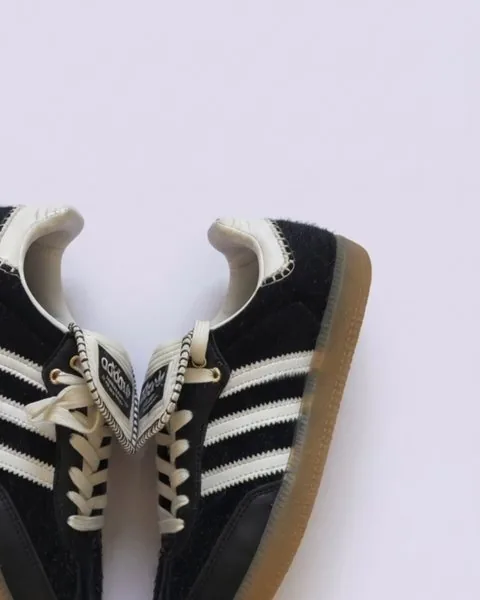
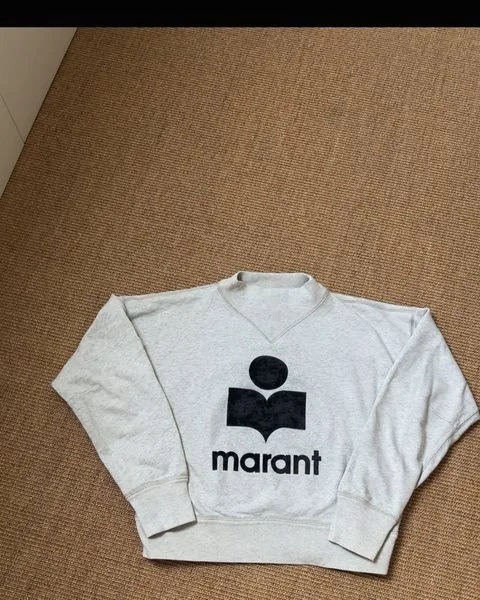
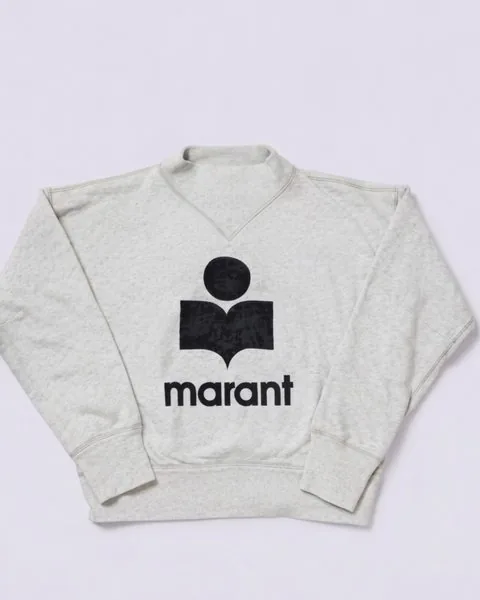
In a grid of photos, an item on a clean background stands out instantly. Here are two real starting photos and what they look like after Vendly’s Studio:
Mistakes that put buyers off
- A collage as the first photo (Vinted explicitly advises against it).
- A dark, yellow or blurry photo taken in the evening under a lamp.
- An unmade bed, a laundry pile or a dirty mirror in the background.
- No photo of the label on a branded piece: buyers doubt it’s authentic.
- A flaw mentioned in the text but not shown in a photo.
Frequently asked questions
How many photos can you add on Vinted?
Up to 20 photos per listing. Six to eight well-chosen photos are enough for most clothes: full view, back, labels, details and flaws.
Do I have to wear the item in the photos?
No. Vinted even advises avoiding showing your face and suggests a hanger, a mannequin or a flat lay instead. A worn photo can help show the fit, without your face.
Can I use a photo from the internet?
No. Vinted asks you to use your own photos: images found online are copyrighted and don’t show your item’s real condition.
Is a white or studio background allowed?
Yes, as long as the item stays true to life: same colours, same condition. Keep raw daylight photos for details and flaws.
Sources
Rules and fees checked on Vinted’s official pages on 8 October 2026. Vinted can change them, and they vary by country: the official page for your country always wins.